NetClusterStarter
The NetClusterStarter Demo allows you to explore the basic features of NetCluster and can also serve as a template if you're creating a game from scratch.
This demo demonstrates the changes needed to add clustering support and includes:
- Usage of NetCluster and ClusterServer
- Basic Player/NPC configuration for inter-server replication
- Inter-server RPC functionality
- Simple player migration configuration
Building the Project
Before trying this example, make sure you follow the Installation guide to compile Unreal Engine.
- Clone the project from (NetClusterStarter)[https://github.com/git-clustech/NetClusterStarter]. Ensure that the submodules are also downloaded.
- Compile the project.
Topology
The demo uses the following server setup:
- 1 Level Server (required for managing the level)
- 1 Visibility Server
- 3 Load Servers (for handling players)
Features
In the demo level, you can test basic inter-server replication and RPC, as well as seamless player migration between the 3 load servers.
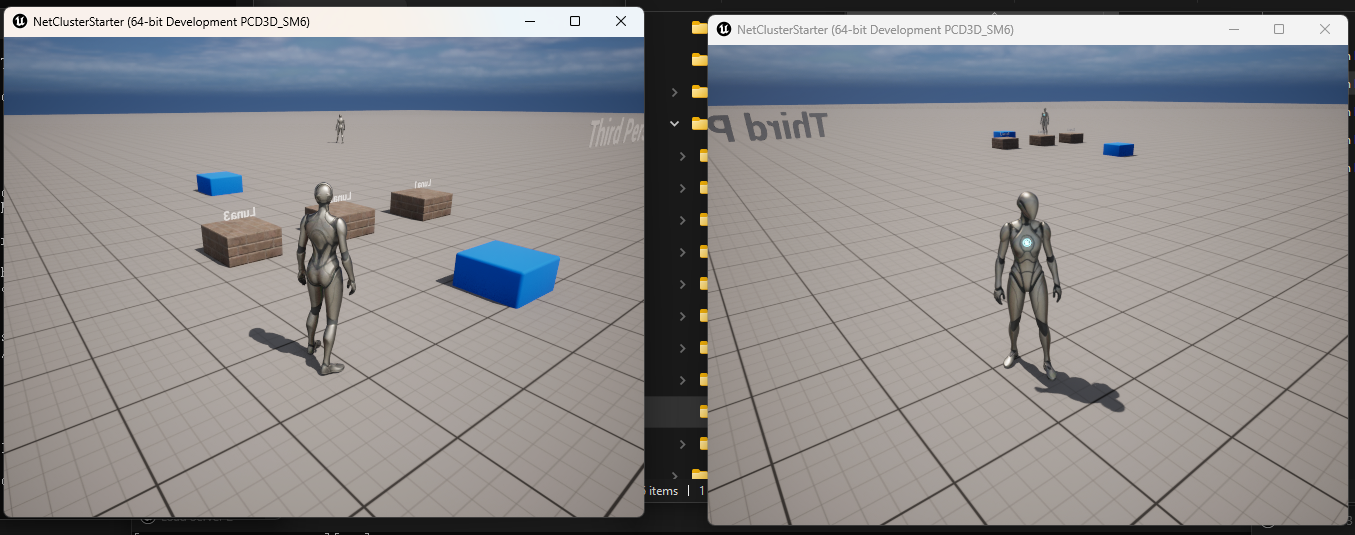
The demo includes a simple map to:
- Test multiple player logins, with automatic replication across servers.
- Test player migration. Three collision boxes labeled
Luna1,Luna2, andLuna3trigger migration to the corresponding server when a player collides with them. - Test RPC functionality. Left mouse button clicks trigger a test RPC call.
Setup
Before launching the server, you'll need to configure account settings and server configuration files.
Configure Account Settings
Follow the Configure NetCluster section to set up your account information.
Configure Servers
Since this demo uses 5 servers, you'll need 5 configuration files. Following the guidelines in Configure Servers, provide a unique DomainID, ServerUID, and RegionID for each server. Here's a suggested configuration:
- DomainID: Consider using your project name as the base.
- ServerUID: Must be unique within the domain; consider using your host server name as the base.
- RegionID: Also must be unique within the domain; it can be part of the ServerUID's suffix if desired.
Assuming your server hostname is "Luna," the configurations might look like this:
Level Server:
{
    "ServerUID": "Luna-LevelServer",
    "DomainID": "LyraNetClusterTest1",
    "ServerFlags": "LevelServer",
    "RegionID": 1
}
Visibility Server:
{
    "ServerUID": "Luna-visibility",
    "LevelServerUID": "Luna-LevelServer",
    "DomainID": "LyraNetClusterTest1",
    "ServerFlags": "HostVisibility",
    "RegionID": 7
}
Load Server 1:
{
    "ServerUID": "Luna1",
    "LevelServerUID": "Luna-LevelServer",
    "DomainID": "LyraNetClusterTest1",
    "RegionID": 2
}
Load Server 2:
{
    "ServerUID": "Luna2",
    "LevelServerUID": "Luna-LevelServer",
    "DomainID": "LyraNetClusterTest1",
    "RegionID": 3
}
Load Server 3:
{
    "ServerUID": "Luna3",
    "LevelServerUID": "Luna-LevelServer",
    "DomainID": "LyraNetClusterTest1",
    "RegionID": 4
}
You can launch the servers using the run_editor_server.bat included in the project. Be sure to update UNREAL_ENGINE_PATH and CONFIG_FILES_PATH before using this script.
Replication between servers
Replication and RPC setup is straightforward. Open the editor and navigate to Content -> ThirdPerson -> Blueprints to view the character script.
Player Migration
For player migration setup, check Content -> ThirdPerson -> MigrationGate.